509-201-4190

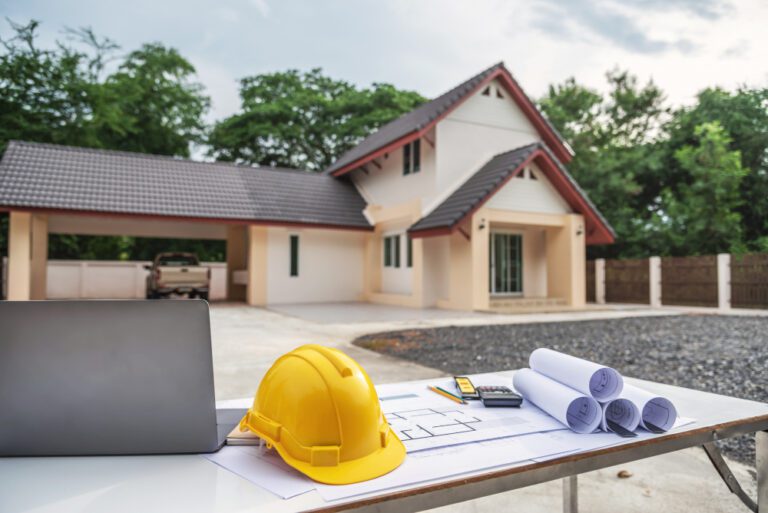
Our Range of Roofing Services
- Going to replace roofing in Huntsville, AL? Our team of skilled roofers serves several states and specializes in projects of all sizes and complexities. Best Huntsville roofer is ready to visit your propery and perform thorough inspection. Our experienced team can solve any issue with your roof, whether you own a house or industrial buiding. So , if you need professional roofers in Huntsville, AL, turn to Advance Roofing LLC for unparalleled service.
- Searching for a reliable roofing contractor in Montgomery, AL? We’re the roofing contractors of choice for Montgomery, AL, residents as we provide top-quality roofing solutions. Our experienced roofers in Montgomery, AL are available for all of your needs. Trust our experts to handle your roofing needs with precision and care.
- Need an Auburn roofer for consultation, inspection or repairs? We’ve got you covered. Our team is equipped to handle roofing projects in Auburn efficiently, offering wide range of roofing services.
- Looking for experienced roofing contractors in Atlanta, GA? We also serve the Atlanta, GA area, offering our expertise in roofing solutions. Consider contacting us if you value quality and precision when it comes to improving or maintaining your property.
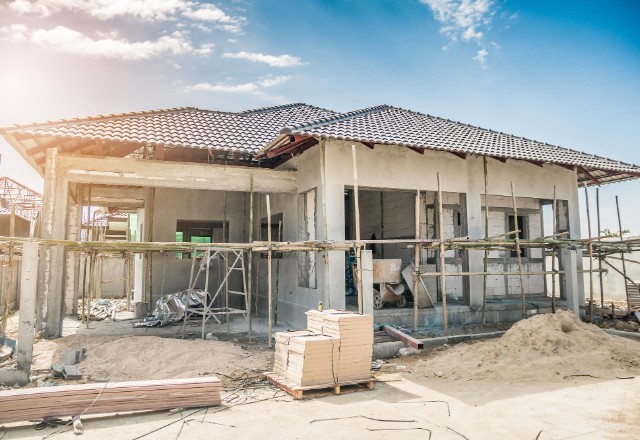
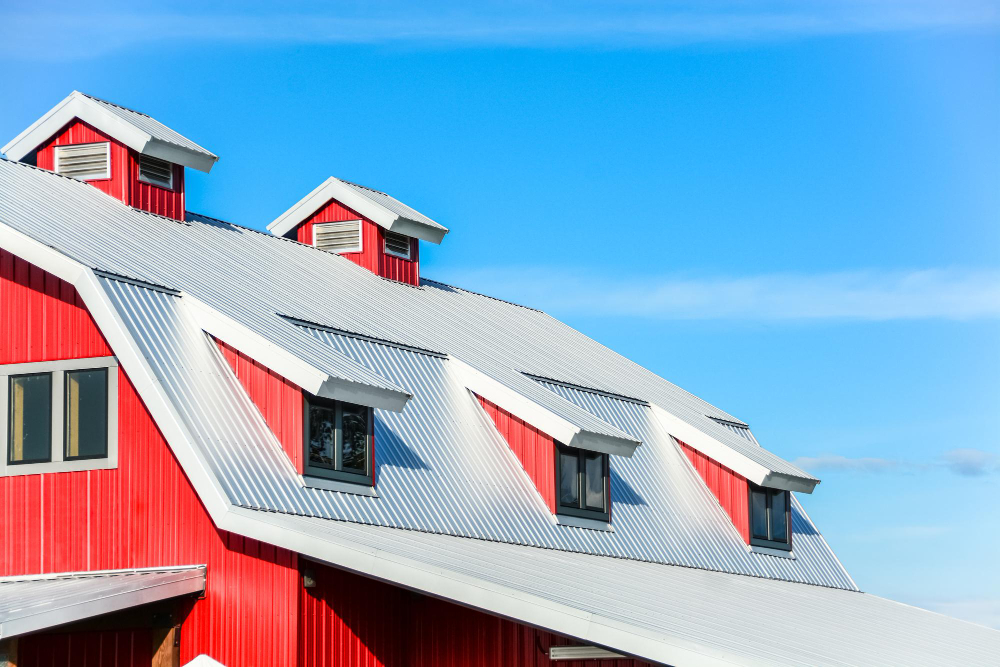
TYPES OF ROOFS WE WORK WITH
At Advance Roofing LLC, we pride ourselves on our versatility and expertise in handling a wide variety of roofing projects, including but not limited to metal roofs. Our skilled team is well-versed in working with different roofing materials, such as asphalt shingles, cedar shakes, slate roofing, and more, ensuring that we can cater to the unique needs of various roof types.
Whether you require roof inspections, repairs, or complete replacements, we’ve got you covered. Our commitment to customer service extends to both residential roofing services and commercial projects, catering to the needs of homeowners and business owners alike. We recognize that each type of roof demands specific attention, and our dedicated team ensures that every project receives the individualized care it deserves.
Advance Roofing LLC is your go-to choice for reliable, high-quality roofing services. With a focus on customer satisfaction, we bring our expertise to every job, providing business owners and residential clients with the best in roofing solutions. Trust us to deliver exceptional service for all your roofing needs.
ROOFING ISSUES WE CAN SOLVE
At Advance Roofing LLC, we are your trusted partner in resolving a wide array of roofing issues with precision and expertise. Our team of skilled roofers is adept at tackling common problems like water damage, ensuring the structural integrity and longevity of your roof. If you’re dealing with a leaky roof or notice signs of structural damage, our roofing repair services are designed to address these issues promptly, even faster than Cardwell Roofing, who previously served your area.
Whether it’s problems with roof decking or more extensive roof damage, we bring a commitment to quality workmanship to every project. Our comprehensive solutions include complete roof replacements and meticulous roof installations, ensuring that your roofing system can withstand various weather conditions. Count on our team to deliver reliable, durable results that provide peace of mind for years to come. Advance Roofing LLC is dedicated to delivering high-quality roofing services that stand the test of time.

More Than Just Roofing
We offer a range of roofing services, including the installation of dimensional roofs. Our team can handle a half-inch CDX plywood installation with ease, ensuring that your roofing project is executed flawlessly.
Beyond roofing services, we specialize in gutter and windows installation. Our team of experienced contractors can expertly install seamless gutters to protect your home from water damage and maintain its curb appeal. We also provide window installation solutions that enhance the beauty of your property while providing superior insulation.
Contact Us Today
When you choose Advance Roofing LLC, you’re choosing experience, expertise, and a commitment to your satisfaction. Your roof deserves the best, and we’re here to provide it. Contact us today for roofing excellence in Huntsville, AL, Montgomery, AL, and Atlanta, GA.
Protect your investment with Advance Roofing LLC – Your trusted roofing partner.